Sides · Brazilian
Brazilian Cheese Bread (Pao de Queijo)

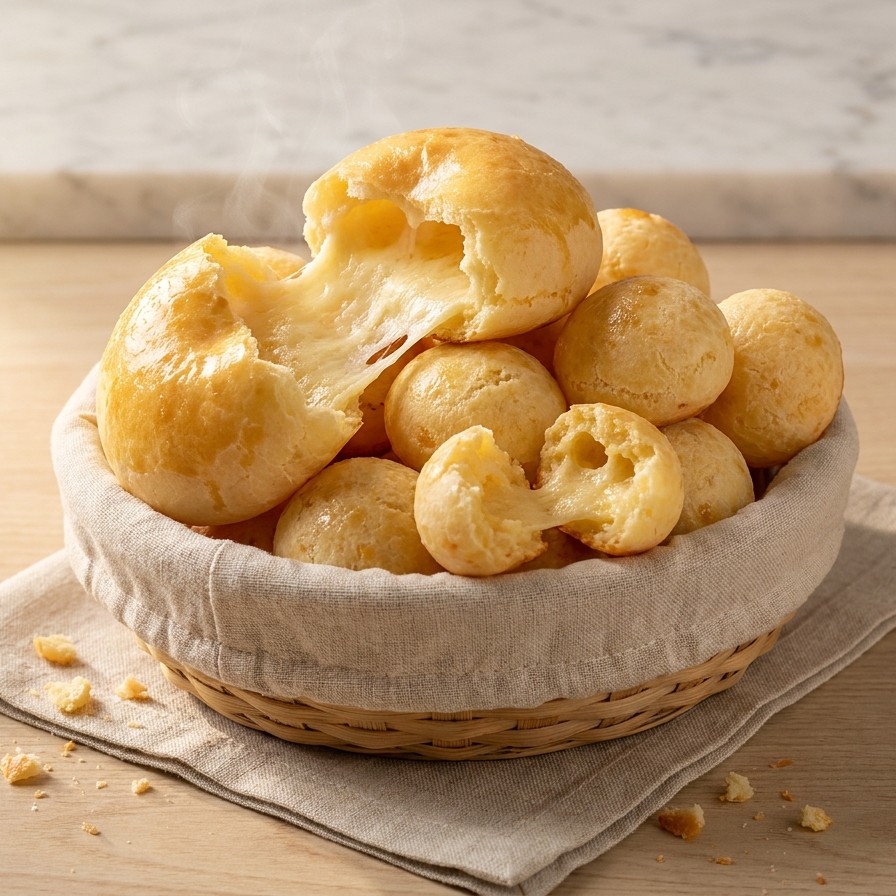
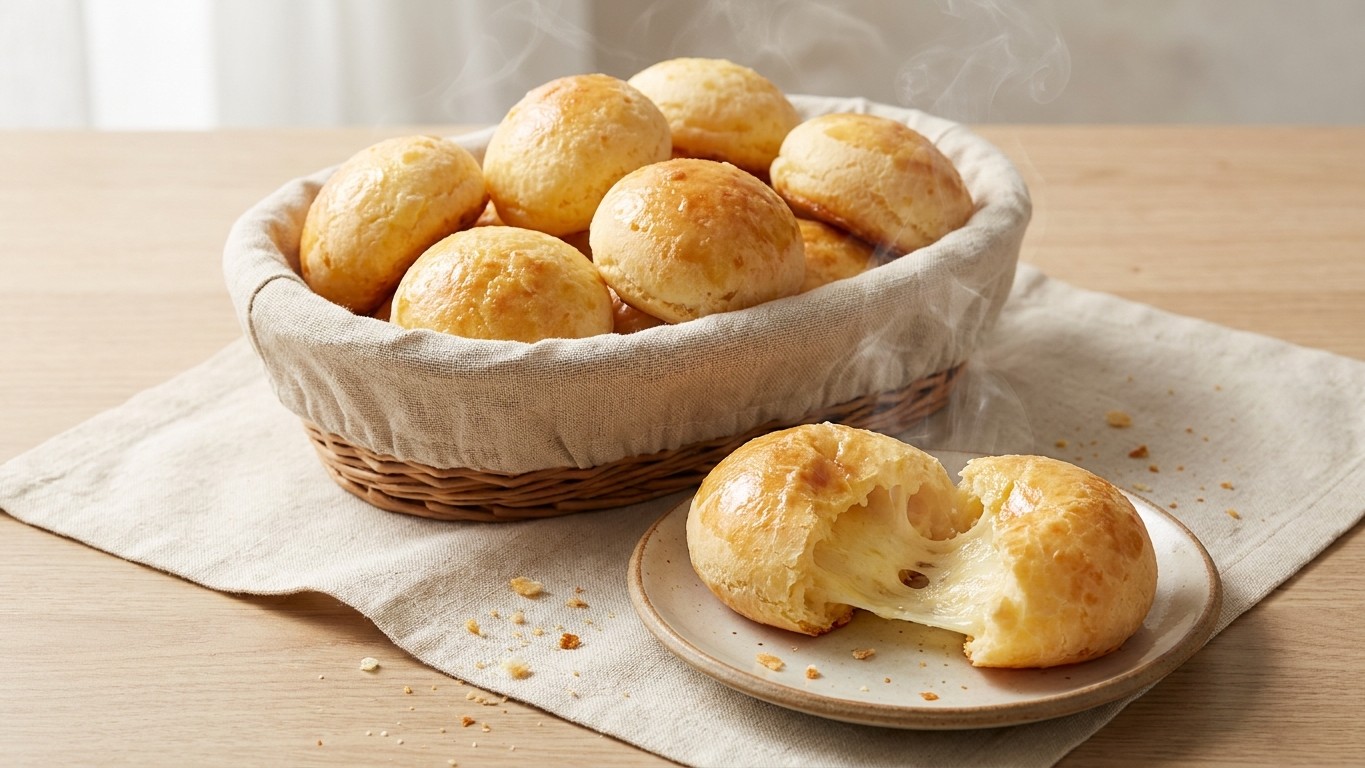
These little cheese puffs are crisp on the outside, chewy and stretchy inside, and completely addictive. Thanks to tapioca flour they are naturally gluten free, and they come together in one pot before a quick spin in the mixer. Serve them warm with coffee or alongside just about any meal.
Why you'll love this
- Naturally gluten free and made from pantry staples
- Crisp outside, irresistibly chewy inside
- One pot plus a quick mix, no kneading
- Great warm with coffee or any meal
EveryDayMeal recipe
Brazilian Cheese Bread (Pao de Queijo)
Prep
15m
Cook
30m
Total
45m
Serves
20
Level
Easy
Ingredients
- a drizzle Oil or butter, for the pan
- 1 cup Whole milk
- 9 tablespoons (a little over 1 stick) Unsalted butter
- 1 teaspoon Salt
- 2 1/2 cups Tapioca flour
- 2 Large eggs
- 1 cup Grated Parmesan
Equipment
- Medium saucepan
- Stand mixer or wooden spoon
- Baking sheet
- Measuring cups and spoons
Instructions
- Heat your oven to 425 degrees F and lightly oil or butter a baking sheet so the puffs release cleanly, then set it aside.
- In a medium saucepan, combine the milk, butter, and salt and bring to a boil over medium heat, stirring until the butter melts fully.
- Pull the pan off the heat and stir in the tapioca flour all at once, beating hard until it forms a thick, shaggy dough, then let it cool for a few minutes so it does not scramble the eggs.
- Scrape the dough into a stand mixer (or keep going by hand with a wooden spoon) and beat until it feels just warm rather than hot, which keeps the texture smooth.
- Add the eggs one at a time, beating until each is fully worked in before adding the next, so the dough stays glossy and cohesive instead of slippery.
- Beat in the Parmesan until evenly distributed and the dough looks smooth and shiny.
- Spoon the dough into rounded tablespoon balls onto the baking sheet, spacing them about 2 inches apart since they puff as they bake.
- Bake for about 30 minutes until the tops are crisp and golden, then serve warm while the centers are at their chewiest.
Tips from the kitchen
- The dough is sticky, so wet your spoon or hands lightly to shape the balls more easily.
- Let the dough cool to warm before adding eggs, or they will cook on contact and leave lumps.
- For extra puff, you can beat the dough longer once the cheese is in; a well worked dough rises higher.
Estimated nutrition per serving: 120 cal · 3g protein · 13g carbs · 6g fat
Make it your own
- Swap in a sharp cheese like aged Gouda or a mix with Parmesan for deeper flavor.
- Stir in a little black pepper or fresh herbs for a savory twist.
- Pipe the dough into silicone mini muffin cups for a softer, more uniform shape.
Storing & make-ahead
Best eaten warm the day they are made. Store leftovers in an airtight container up to 2 days and reheat in a 350 degree F oven for a few minutes to crisp them back up. Unbaked dough balls freeze well; bake straight from frozen, adding a few extra minutes.
Good to know
- What is tapioca flour and can I substitute it?
- Tapioca flour (also called tapioca starch) gives these their signature chew and cannot be swapped for regular flour, which would change the texture completely.
- Why did my puffs turn out flat?
- Usually the dough was too hot when the eggs went in, or it was underbeaten. Cool it to warm and beat well for the best rise.
- Can I make the dough ahead?
- Yes. Shape the balls, freeze them on a tray, then transfer to a bag and bake from frozen whenever you want fresh cheese bread.
- Is this recipe gluten free?
- Yes, as long as your tapioca flour and cheese are certified gluten free, these are naturally wheat free.
Related recipes
Sides
Turkish Cacik (Cool Cucumber Yogurt Dip)
Sides
Homemade Shawarma Flatbread
Sides
Boulangère Potatoes
Love this? Get one every day.
Every meal, sorted. Free daily recipes in your inbox.