Dessert · American
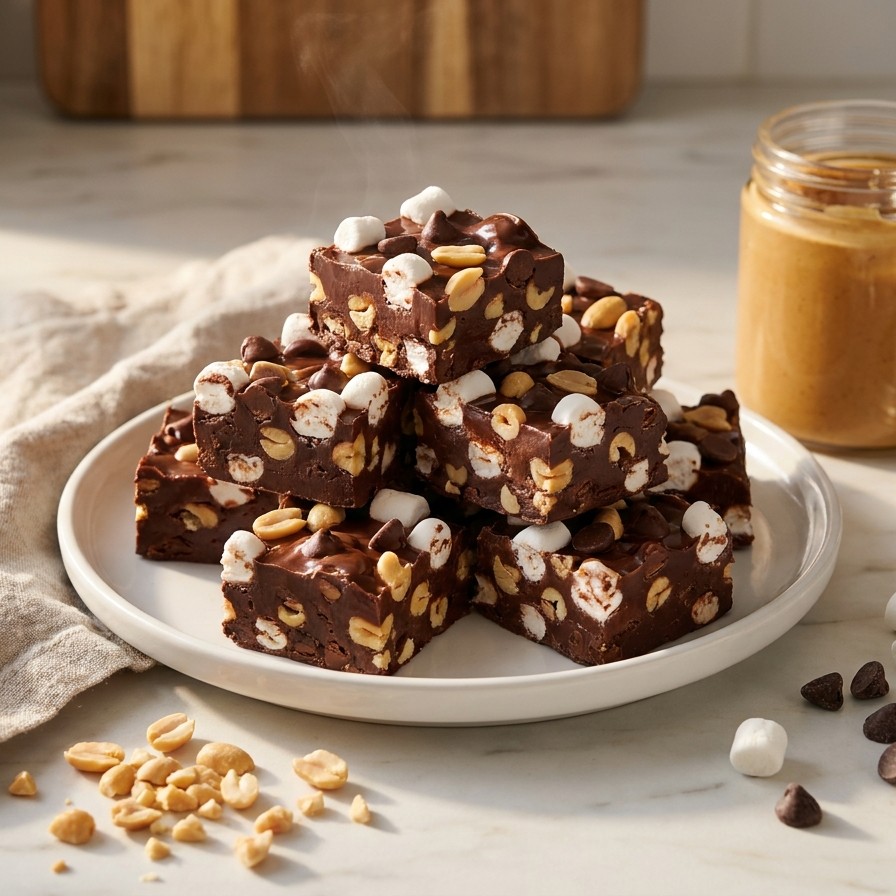
Rocky Road Fudge

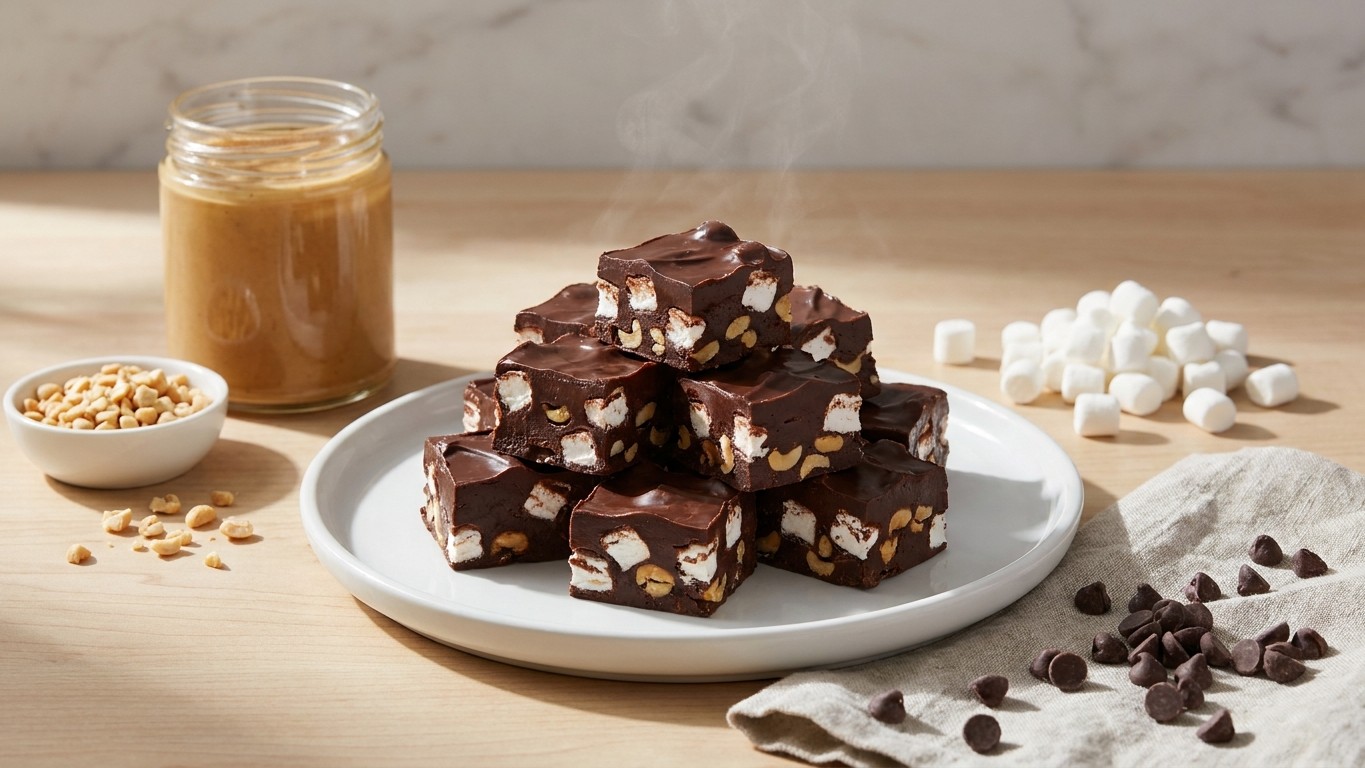
This no-bake fudge brings together melty chocolate, creamy peanut butter, soft marshmallows, and crunchy peanuts in every bite. It comes together in one bowl with your microwave doing most of the work, then chills until firm. Perfect for holidays, bake sales, or an easy sweet to keep on hand.
Why you'll love this
- No oven and no candy thermometer required.
- One bowl and a handful of ingredients.
- That sweet, salty, crunchy, chewy combo in every bite.
- Makes a big batch, perfect for gifting or sharing.
EveryDayMeal recipe
Rocky Road Fudge
Prep
15m
Total
255m
Serves
24
Level
Easy
Ingredients
- 2 cups miniature marshmallows
- 3 cups chocolate chips
- 1/2 cup peanut butter
- 1 teaspoon vanilla extract
- 1 1/4 cups peanuts, chopped
Equipment
- 8-inch square baking pan
- Wax paper or foil
- Microwave-safe bowl
- Rubber spatula
- Sharp knife
Instructions
- Line an 8-inch square pan with wax paper or foil, letting it hang over two sides so you can lift the fudge out later, then coat it lightly with nonstick spray so nothing sticks.
- Scatter 1/2 cup of the miniature marshmallows evenly across the bottom of the lined pan to create the base layer.
- In a microwave-safe bowl, combine the chocolate chips and peanut butter. Microwave in 20-second bursts, stirring well between each one, until the chocolate is fully melted and glossy, so you avoid scorching it.
- Stir in the vanilla extract until the mixture is smooth and fragrant.
- Set aside 2 tablespoons of the chopped peanuts for topping, so you have something to garnish the surface.
- Fold the remaining 1 1/2 cups marshmallows and the rest of the chopped peanuts into the warm chocolate, working quickly so the marshmallows hold their shape instead of fully melting.
- Spread the mixture evenly into the prepared pan, then immediately press the reserved peanuts and a few extra marshmallows on top while the surface is still soft.
- Refrigerate for about 4 hours, or until the fudge is firm and set all the way through.
- Use the overhanging paper to lift the fudge out of the pan, then peel away the wax paper completely.
- Cut into bite-sized squares and serve.
Tips from the kitchen
- Chop the peanuts fairly small so the fudge slices cleanly without crumbling.
- Work fast once the marshmallows go in; you want them whole for that classic rocky road look, not melted away.
- For clean squares, wipe your knife with a warm, damp towel between cuts.
Estimated nutrition per serving: 210 cal · 5g protein · 21g carbs · 13g fat
Make it your own
- Swap the peanuts for chopped almonds or walnuts for a different crunch.
- Use a mix of milk and semisweet chips for a sweeter fudge.
- Stir in a handful of mini chocolate cookie pieces for extra texture.
Storing & make-ahead
Store in an airtight container in the refrigerator for up to 2 weeks. You can also freeze the squares for up to 3 months; thaw in the fridge before serving.
Good to know
- Why is my fudge too soft to cut?
- It likely needs more chill time. Give it the full 4 hours, and if it is still soft, refrigerate longer or add a bit more chocolate next time.
- Can I use natural peanut butter?
- Stick with regular no-stir peanut butter. Natural versions can separate and make the fudge greasy or crumbly.
- Can I make this on the stovetop?
- Yes. Melt the chips and peanut butter in a saucepan over low heat, stirring constantly, then proceed as written.
- How do I keep the marshmallows from melting?
- Let the melted chocolate cool for a minute or two before folding them in, and work quickly so they stay soft and whole.
Related recipes
Love this? Get one every day.
Every meal, sorted. Free daily recipes in your inbox.