Dinner · Uruguayan
Uruguayan Beef Empanadas

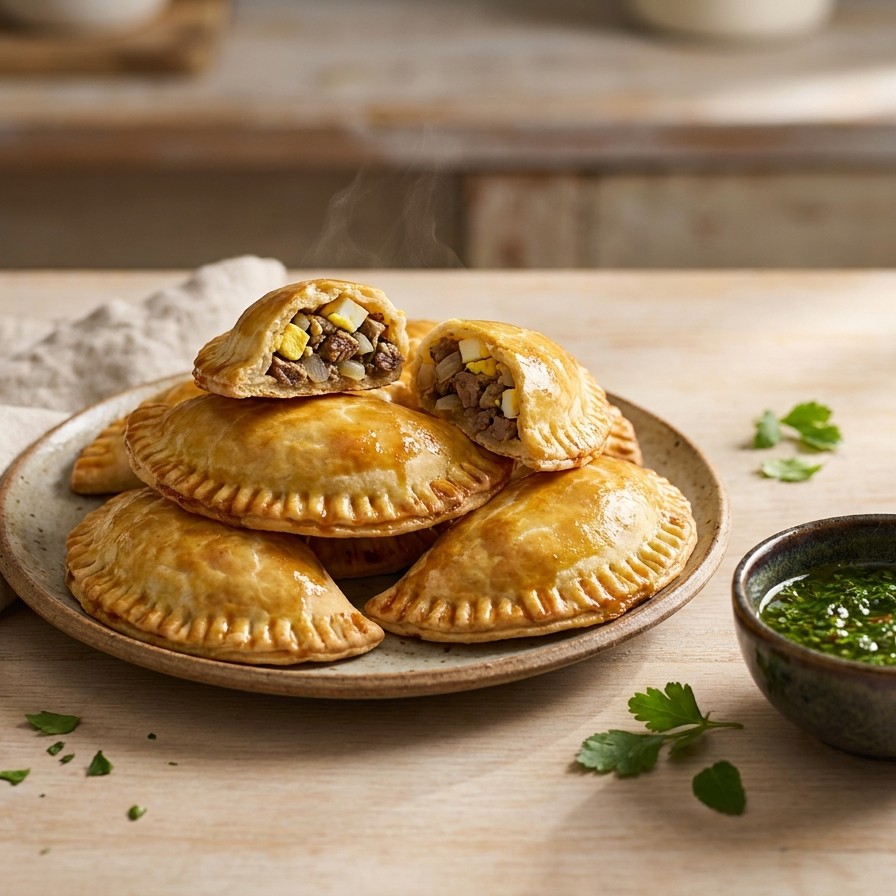
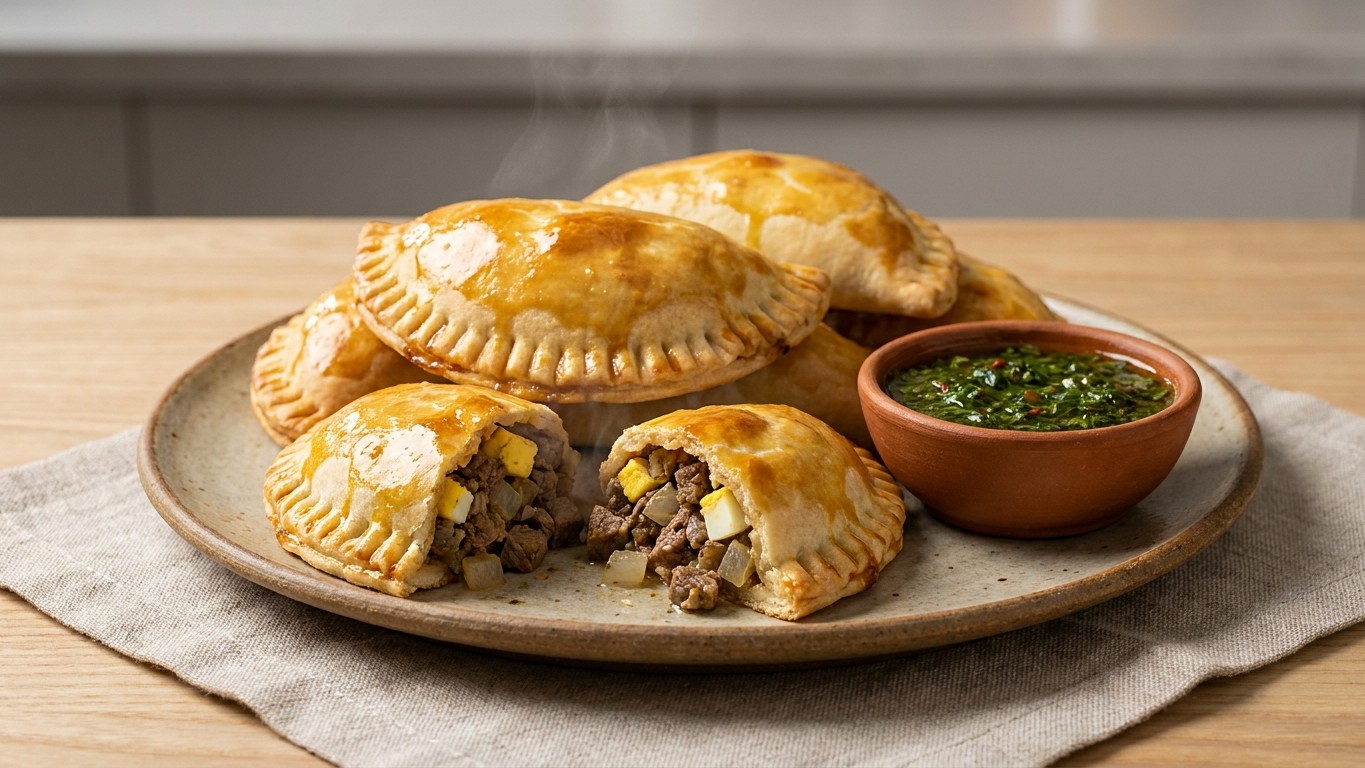
These handheld beef empanadas are a Uruguayan classic: tender pastry wrapped around a savory filling of seared sirloin, sweet onions, tomatoes, and chopped hard-boiled egg. They take a little time, but the dough is forgiving and the payoff is a golden, flaky bite you can eat with your hands. Serve them warm with a drizzle of chimichurri and watch them disappear.
Why you'll love this
- Flaky homemade pastry around a rich, seasoned beef filling.
- Perfect for making ahead and baking off when you need them.
- Freezer-friendly, so you always have a quick meal on hand.
- Great for feeding a crowd or packing in lunches.
EveryDayMeal recipe
Uruguayan Beef Empanadas
Ingredients
- 1/4 cup (about 4 tablespoons) lard
- 1 1/2 cups warm water
- 1 teaspoon salt (for dough)
- about 5 cups all-purpose flour
- 1 tablespoon dried oregano
- 3 ripe tomatoes
- 1 clove garlic
- 1 large red onion
- 1 bunch scallions
- 1 1/2 pounds sirloin steak
- 1 teaspoon paprika
- 1 teaspoon red pepper flakes
- 1 teaspoon chopped fresh parsley
- to taste salt and pepper
- 3 eggs (for filling)
- 1 egg, beaten (for egg wash)
- as needed chimichurri sauce, for serving
Equipment
- Large mixing bowl or stand mixer
- Large skillet
- Rolling pin
- Round cutter or bowl (about 5 inches)
- Baking sheets
- Parchment paper
- Pastry brush
Instructions
- Make the dough: In a large bowl, stir together the lard, warm water, and 1 teaspoon salt until the lard softens and breaks up. Add the flour and oregano, then knead by hand for about 5 minutes (or use the dough hook on a stand mixer) until you have a smooth, cohesive dough that is no longer sticky.
- Cover the dough and let it rest at least 30 minutes at room temperature, or refrigerate it overnight. Resting relaxes the gluten so the dough rolls out easily without snapping back.
- Peel the tomatoes: Drop them into boiling water for about 30 seconds, then transfer to cold water. The skins will slip right off. Chop the peeled tomatoes into small cubes and set aside.
- Mince the garlic and finely dice the red onion and scallions. Warm a drizzle of olive oil in a large skillet over medium heat and cook the garlic and onions until soft and translucent, about 5 minutes, so the filling tastes sweet rather than sharp. Scoop them out and set aside.
- Turn the heat to high and add the sirloin, cut into small pieces or coarsely chopped. Brown the meat well on all sides, about 5 to 7 minutes, for deep, savory flavor.
- Stir in the oregano, paprika, red pepper flakes, and parsley, then return the onions and garlic to the pan and add the tomatoes. Simmer a few minutes until the mixture comes together and most of the liquid cooks off. Season generously with salt and pepper, then let the filling cool. (You can make it a day ahead and chill it.)
- Hard-boil the 3 eggs, peel, and chop into small cubes. Fold them into the cooled beef filling.
- Cut the dough in half. On a floured surface, roll one half thin and cut out circles about 5 inches across. Repeat with the second half, rerolling scraps.
- Place 2 to 4 teaspoons of filling in the center of each circle. Brush water around the edge, fold into a half-moon, and press to seal, then crimp the edges firmly with a fork so they do not open in the oven.
- Preheat the oven to 400 degrees F. Arrange the empanadas on parchment-lined baking sheets and brush the tops with beaten egg for a glossy, golden finish.
- Bake about 25 minutes, until puffed and deep golden brown. Serve warm with plenty of chimichurri for dipping.
Tips from the kitchen
- Let the filling cool completely before assembling. A hot filling makes the dough soft and hard to seal.
- Crimp the edges firmly with a fork and make sure there are no gaps, or the filling can leak while baking.
- Do not overfill. Two to four teaspoons per circle keeps them easy to seal and bake evenly.
Estimated nutrition per serving: 420 cal · 22g protein · 42g carbs · 18g fat
Make it your own
- Swap sirloin for ground beef to save time and money.
- Add a handful of chopped green olives or raisins for a sweet-savory twist.
- Use store-bought empanada discs if you are short on time.
Storing & make-ahead
Store baked empanadas in an airtight container in the fridge for up to 3 days and reheat in a 350 degree F oven until warm and crisp. To freeze, arrange unbaked assembled empanadas on a tray until solid, then transfer to a freezer bag; bake straight from frozen, adding a few extra minutes.
Good to know
- Can I make the filling ahead?
- Yes. The filling actually improves overnight. Make it up to a day in advance, chill it, and stir in the chopped eggs before assembling.
- Can I fry these instead of baking?
- Yes. Fry them in about 2 inches of oil at 350 degrees F until golden, a couple of minutes per side, then drain on paper towels.
- Why did my empanadas leak?
- Usually the seal was not tight or the filling was too wet or too hot. Cool the filling, moisten the edges, and crimp firmly with a fork.
- Can I use butter instead of lard?
- Lard gives the most traditional flaky texture, but cold butter or shortening works. The dough will taste slightly different but still bake up well.
Related recipes
Dinner
Venetian Duck Ragu with Paccheri
Dinner
Roasted Chicken with Creamy Walnut Sauce
Dinner
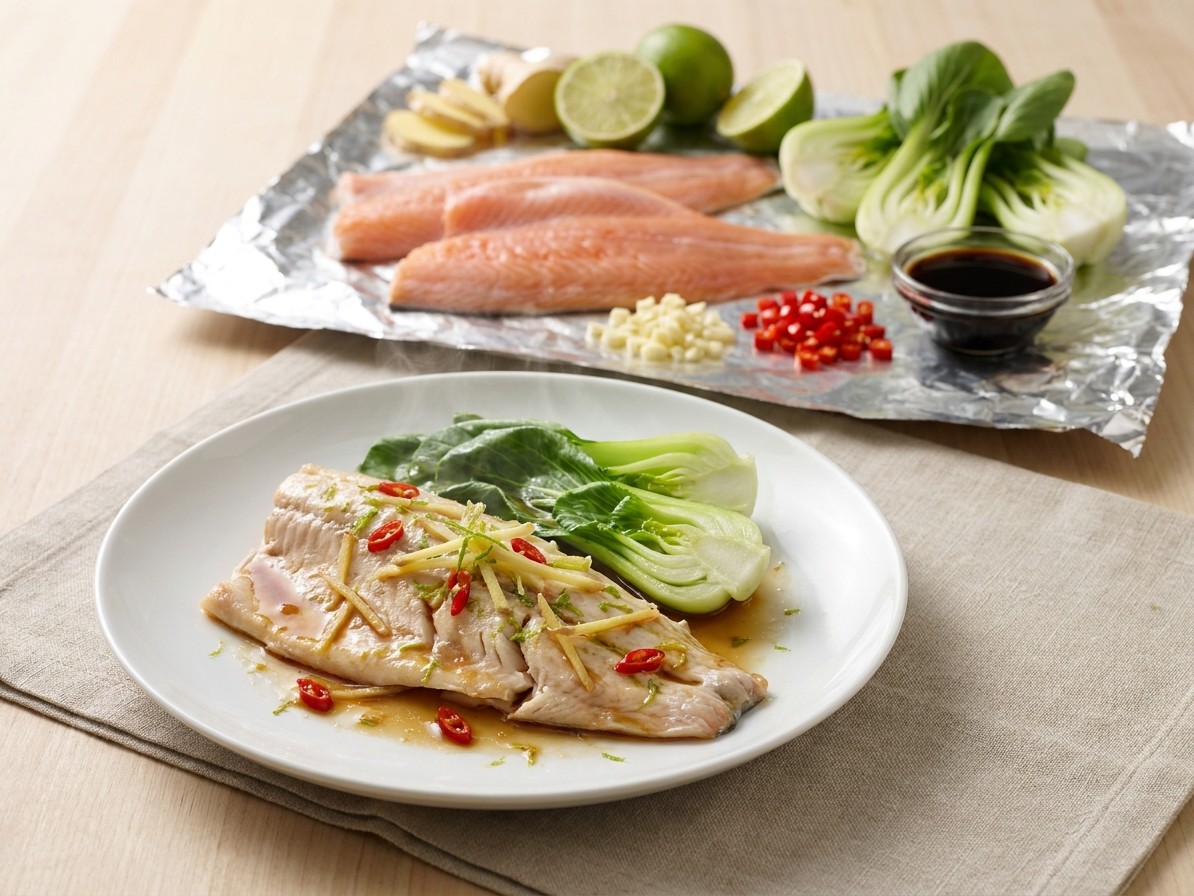
Thai-Style Steamed Trout in a Foil Packet
Love this? Get one every day.
Every meal, sorted. Free daily recipes in your inbox.