Sides · Venezuelan
Venezuelan Arepas
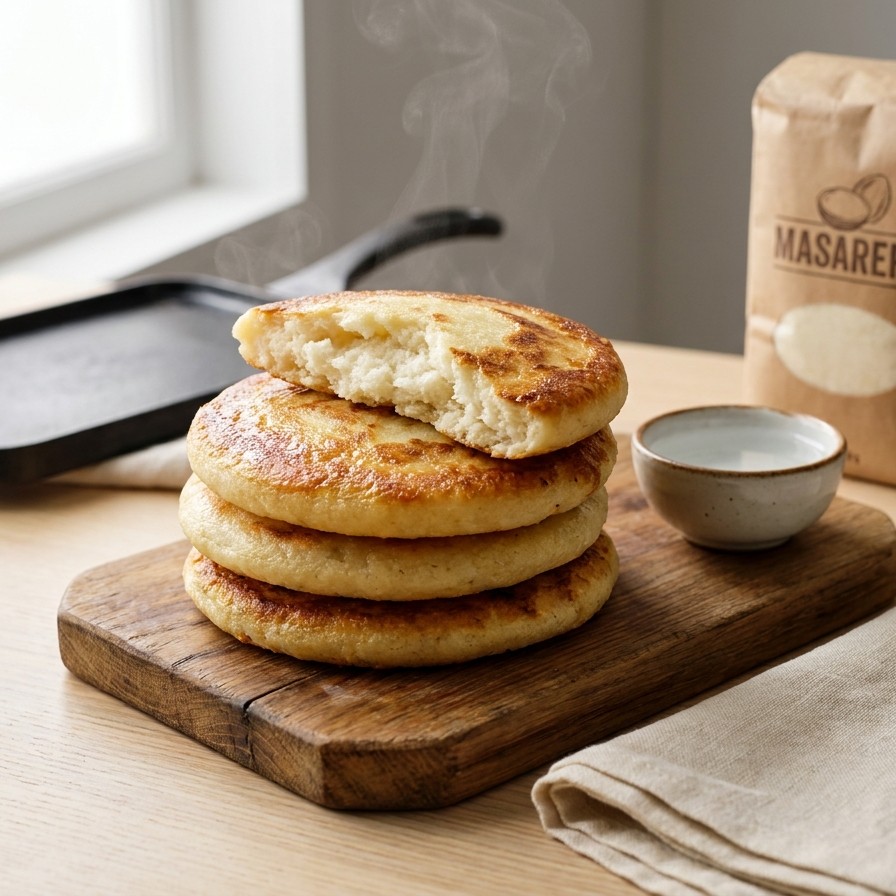
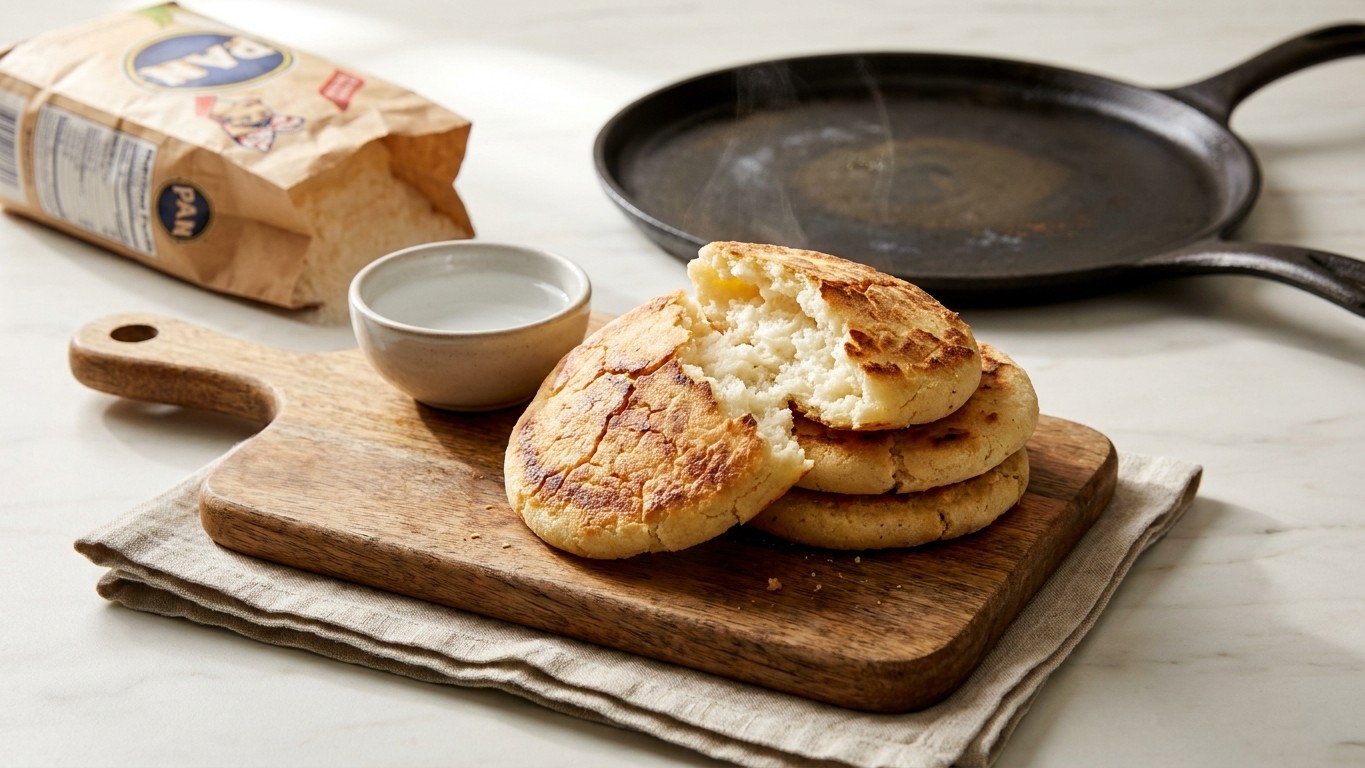
These golden corn cakes are crisp outside, tender inside, and endlessly versatile. They come together with just four pantry ingredients and no gluten, so there's no kneading involved. Split them and stuff with cheese, shredded chicken, or beans, or serve them plain alongside a hearty stew.
Why you'll love this
- Just four simple ingredients you likely have already.
- Naturally gluten-free with no kneading required.
- Crisp outside, soft inside, and perfect for stuffing.
- Works as a side or a full meal depending on the filling.
EveryDayMeal recipe
Venezuelan Arepas
Prep
15m
Cook
20m
Total
35m
Serves
6
Level
Easy
Ingredients
- 2 cups precooked white cornmeal (masarepa, such as P.A.N.)
- 2 1/2 cups water, room temperature
- 1 teaspoon salt
- 1 tablespoon vegetable oil
Equipment
- Large mixing bowl
- Fork or spatula
- Cast-iron skillet, griddle, or nonstick pan
- Baking sheet
- Small bowl for water
Instructions
- Heat your oven to 410 degrees F so it's ready when the arepas finish on the stovetop.
- Pour the room-temperature water into a large bowl and stir in the salt until it fully dissolves, which keeps the seasoning even throughout the dough.
- Add the cornmeal a little at a time, stirring constantly with a fork or spatula, so it hydrates evenly without forming dry lumps.
- Keep mixing until the dough is smooth and no dry cornmeal remains. Let it rest 5 minutes so the flour fully absorbs the water. This cornmeal has no gluten, so there's no need to knead. The dough should feel firm but soft and easy to shape.
- While the dough rests, set a griddle or cast-iron skillet over medium heat and coat it lightly with the oil so the arepas brown without sticking.
- Keep a small bowl of water nearby to wet your hands. Scoop about 2 tablespoons of dough and roll it into a smooth ball between damp palms.
- Press and pass the ball from hand to hand into a round disc about 3/4 inch thick and 4 inches wide. Smooth any cracks along the edge with wet fingertips so the arepas hold their shape and puff evenly.
- Cook the arepas in batches on the hot griddle until each side is golden, about 4 to 5 minutes per side. Watch them closely so they brown but don't burn.
- Transfer the browned arepas to a baking sheet and bake for 10 minutes. They're done when they puff slightly and sound hollow when you tap the top, like a light drum.
- Serve hot, either split and stuffed with your favorite fillings or plain alongside a Venezuelan stew.
Tips from the kitchen
- Use masarepa (precooked corn flour like P.A.N.), not regular cornmeal or masa harina, or the arepas won't hold together or puff.
- If the dough cracks when you shape it, it's too dry. Wet your hands and work in a little more water until it's smooth.
- Keep the griddle at steady medium heat. Too hot and the outside burns before the inside cooks through.
Estimated nutrition per serving: 180 cal · 3g protein · 36g carbs · 3g fat
Make it your own
- Stuff split arepas with shredded cheese, black beans, or pulled chicken for a filling meal.
- Add a handful of shredded cheese to the dough before shaping for cheesy arepas.
- Cook them fully on the griddle if you want to skip the oven, just flip a few extra times until hollow-sounding.
Storing & make-ahead
Store cooled arepas in an airtight container in the fridge up to 3 days. Reheat in a dry skillet or toaster oven until warm and crisp again. You can also freeze cooked arepas up to 2 months and reheat straight from frozen.
Good to know
- Can I use regular cornmeal?
- No. You need precooked corn flour (masarepa), sold as P.A.N. or Harina P.A.N. Regular cornmeal or masa harina won't give the right texture.
- Why won't my arepas puff?
- They usually puff after baking. If not, the dough may have been too thick or too dry, or the oven wasn't fully preheated. They still taste great either way.
- How do I know the dough is right?
- It should feel smooth, firm, and moldable without cracking. If it cracks, add a splash of water; if it's sticky, add a little more flour.
- Can I make the dough ahead?
- It's best cooked fresh, but you can shape the discs and refrigerate them a few hours before cooking. Let them sit at room temperature briefly before hitting the griddle.
Related recipes
Love this? Get one every day.
Every meal, sorted. Free daily recipes in your inbox.